
Last Updated on May 16, 2025 by Lucas
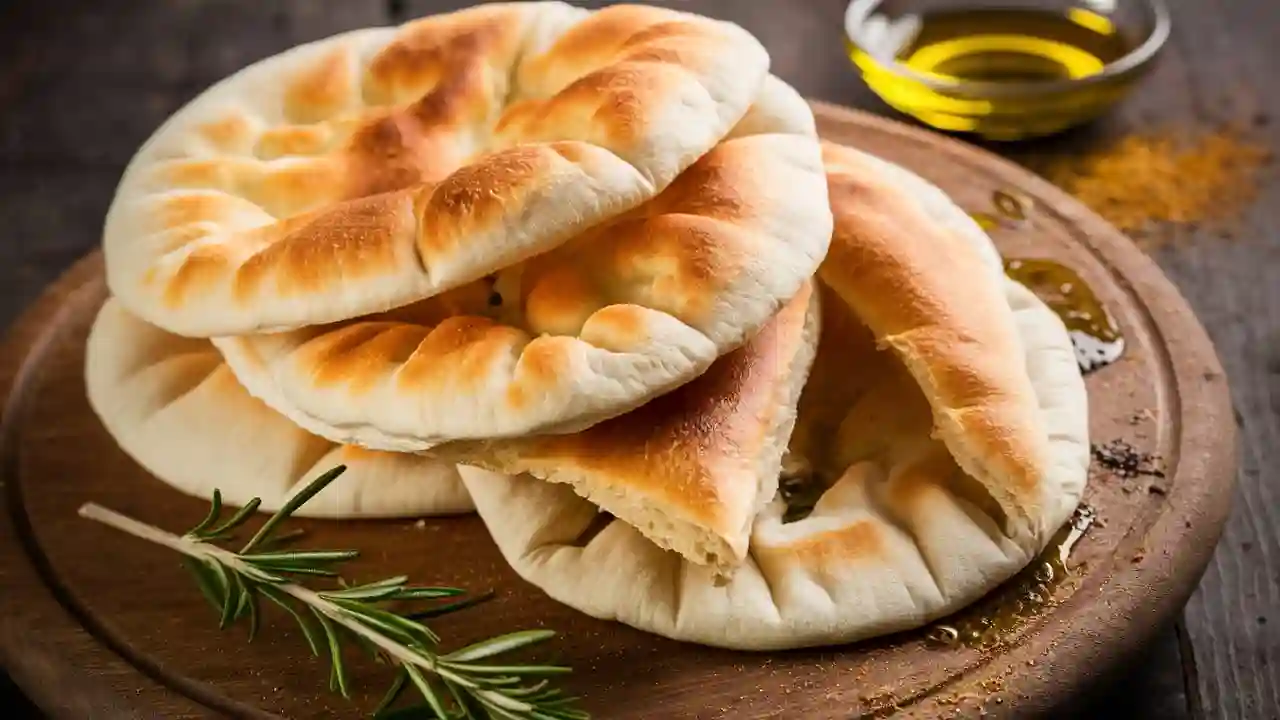
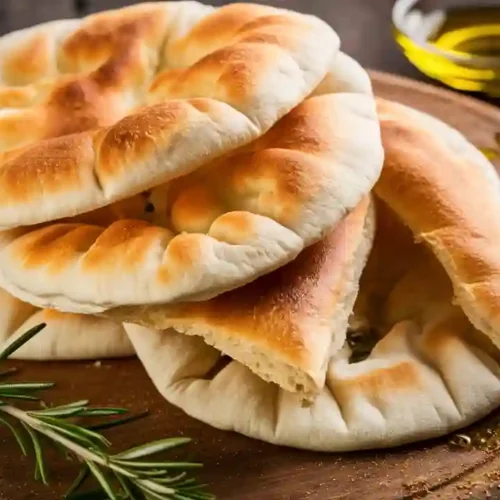
Have you ever craved warm, pillowy pita bread fresh from your kitchen? This easy pita bread recipe brings soft, fluffy goodness to your table in just 20 minutes. Perfect for wraps, dips, or enjoying on its own, it’s a Mediterranean flatbread that’s both versatile and satisfying. I’ll show you how simple ingredients like flour, yeast, and olive oil create that irresistible puff. Let’s make homemade pita bread your new go-to for any meal.
Key Benefits
Homemade pita bread isn’t just a side—it’s a culinary canvas. Its soft, pliable texture and signature pocket make it adaptable for various meals, from hearty wraps to delightful dips.
Soft, Fluffy Texture Every Time
Homemade pita bread offers a delightful softness and fluffiness that store-bought versions often lack. This is how you can create the perfect texture:
- Use Bread Flour: Choose bread flour over all-purpose. The extra protein supports gluten development, giving your pita a chewier, satisfying bite.[1]
- Incorporate Greek Yogurt: Adding a small amount of Greek yogurt to the dough can enhance tenderness and add a subtle tang.
- Proper Kneading: Knead the dough until it becomes smooth and stretchy. This step strengthens the gluten network, giving your pita its soft, sturdy structure.
- Adequate Resting Time: Allow the dough to rest and rise properly. This fermentation process not only leavens the dough but also improves the flavor and texture.
Quick & Easy Recipe in 20 Minutes
Making homemade pita bread doesn’t have to be a time-consuming process. With the following steps, you can enjoy fresh pita in about 20 minutes:
Stovetop or Oven-Baked Pita Bread
- Stovetop Method: Preheat a cast-iron skillet over medium-high heat. Add the rolled dough and cook for 1-2 minutes per side, until it puffs up and develops a light golden color.
- Oven Method: Place a baking stone or an inverted baking sheet in the oven and preheat to 475°F (245°C). Transfer the rolled dough onto the hot surface and bake for 2-3 minutes until puffed.
Versatile for Wraps, Dips & More
Homemade pita bread is incredibly versatile and can be used in various dishes:
Perfect for Mediterranean Wraps, Falafel, or Hummus
- Wraps: Use the pita as a soft wrap for grilled meats, vegetables, or falafel.
- Dips: Cut the pita into wedges and serve with hummus, baba ganoush, or tzatziki.
Use as Pita Pocket Bread for Easy Meals
- Pockets: Slice the pita in half and stuff with your favorite fillings for a quick and satisfying meal.
- Customizable: Fill with ingredients like grilled chicken, salad, or roasted vegetables to suit your taste.
By following these tips and techniques, you can enjoy soft, fluffy, and versatile homemade pita bread anytime.tile tool to your culinary repertoire.
Ingredients
Crafting homemade pita bread starts with selecting the right ingredients. Here’s a breakdown to guide you:
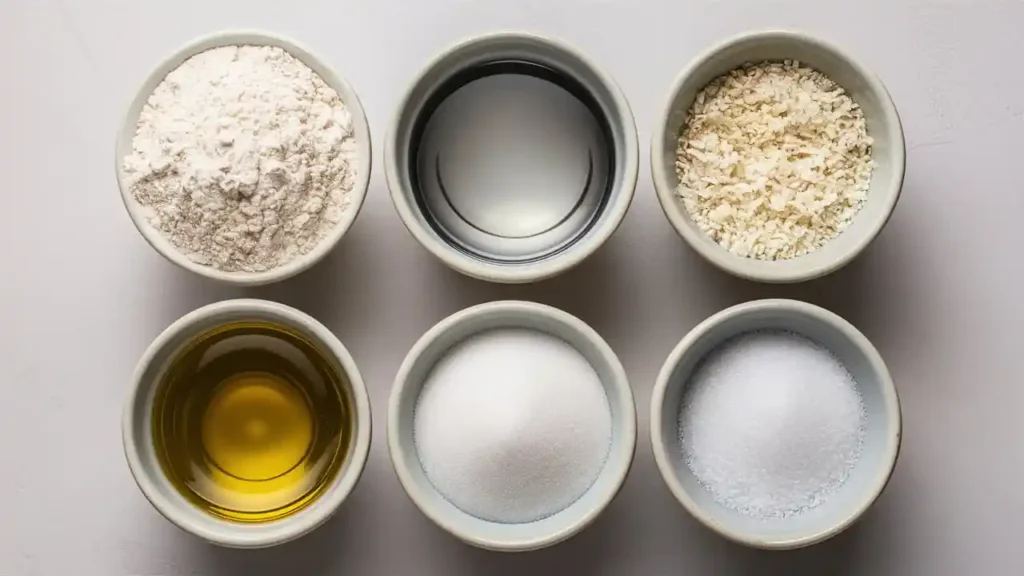
Essential Ingredients
| Ingredient | Quantity | Purpose |
| All-purpose flour | 2 cups (260g) | Forms the base of the dough |
| Warm water | 3/4 cup (175ml) | Activates the yeast and hydrates the flour |
| Instant yeast | 1 teaspoon | Leavens the dough |
| Olive oil | 2 tablespoons | Adds flavor and tenderness |
| Salt | 1 teaspoon | Enhances overall taste |
| Sugar | 1 teaspoon | Feeds the yeast for better rise |
Note: Using warm water (around 110°F or 43°C) is crucial for activating the yeast effectively.
Recommended Substitutions
Adapting the recipe to your preferences or dietary needs is straightforward:
- Flour Variations:
- Whole Wheat Flour: Substitute up to 50% of all-purpose flour with whole wheat flour for a nuttier flavor and added fiber.
- Bread Flour: Opt for bread flour to achieve a chewier texture due to its higher protein content.
- Yeast Alternatives:
- Baking Powder: For a yeast-free version, use 1.5 teaspoons of baking powder. Note that this will yield a different texture, resembling flatbread more than traditional pita.
- Oil Options:
- Vegetable or Canola Oil: If olive oil isn’t available, these oils can be used, though they may slightly alter the flavor profile.
Tools You’ll Need
Equipping your kitchen with the right tools ensures a smooth baking process:
- Mixing Bowl: For combining and kneading the dough.
- Rolling Pin: Essential for flattening the dough evenly.
- Cast Iron Skillet or Baking Stone: Provides even heat distribution, crucial for puffing up the pita.
- Kitchen Scale: Ensures precise measurement of ingredients.
- Damp Cloth: Keeps the dough moist during resting periods.
Having these tools at hand will streamline your pita bread making experience, leading to consistent and delicious results.
Instructions
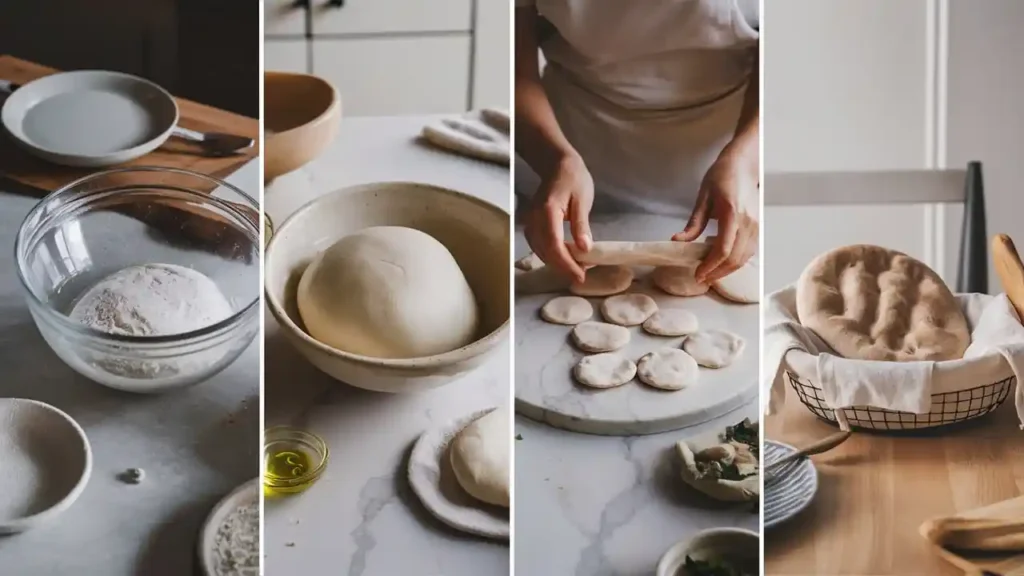
Preparing the Dough
How to mix and knead for optimal softness
When making pita bread, the dough is your foundation. To achieve soft, airy bread, start by activating your yeast properly. Combine warm water (around 110°F), a touch of sugar, and active dry yeast. Let it bloom until frothy—this ensures your pita bread rises well.
Once your yeast is ready:
- Add bread flour and salt to a large bowl and mix well.
- Gradually pour in the yeast mixture and olive oil.
- Stir until a shaggy dough forms.
- Knead on a lightly floured surface for 8-10 minutes.
Your dough should feel smooth, elastic, and slightly tacky but not sticky. This texture promotes even puffing later on. Don’t skip this kneading step, as it develops gluten, which gives your pita bread its signature pocket.
Rolling & Shaping
Tips for uniform pita bread thickness
After the dough has risen, divide it into equal portions—usually 8 balls for medium-sized pitas. Use a rolling pin to roll each ball into a 1/4-inch-thick round.
Key tips for perfect thickness:
- Always rest the dough for a few minutes before rolling; this relaxes the gluten.
- Keep rounds even in thickness to prevent uneven puffing.
- Avoid over-flouring the surface, as excess flour can dry out the dough.
Why proper rolling affects puffing
Rolling impacts how well your pita bread puffs. If it’s too thick, the center may remain doughy; too thin, and it won’t trap enough steam to create the pocket. Aim for consistency, and you’ll see your pita bread puff beautifully whether using the stovetop or oven.
Cooking Methods
Stovetop pita bread recipe (cast iron method)
For a quick, rustic finish, cook your pita bread in a hot cast iron skillet:
- Preheat the skillet on medium-high until very hot.
- Place one rolled dough round in the pan.
- Cook for 1-2 minutes until bubbles appear.
- Flip and cook another 1-2 minutes until puffed and golden.
This method gives you a chewy texture with charred spots, perfect for dipping or stuffing.
Oven-baked pita bread option
Prefer hands-free cooking? Use your oven for equally soft pita bread:
- Preheat your oven to 500°F (260°C).
- Place a baking stone or inverted baking sheet inside to heat.
- Carefully place rolled dough onto the hot surface.
- Bake for 3-4 minutes until puffed and lightly golden.
Oven baking allows multiple pitas at once and results in soft, fluffy pita bread with an even puff.
Pro Tips and Variations
Mastering homemade pita bread requires attention to detail and a few insider techniques. Here’s how you can elevate your pita-making game:
Pro Tips for Fluffy Pita Success
- Optimal Dough Resting Time: After kneading, allow the dough to rest for about 10 minutes. This relaxes the gluten, making the dough easier to roll out and shape.
- Storing Warm Pita Bread: To keep your pita bread soft, cover them with a clean kitchen towel as they cool. Once cooled, place them in a plastic bag to retain moisture. When reheating, lightly dampen the bread to restore its softness.
Flavor Variations to Try
- Garlic Herb Pita Bread: Incorporate minced garlic and a blend of dried herbs like oregano and thyme into your dough for a savory twist.
- Whole Wheat Mediterranean Flatbread: Substitute half of the all-purpose flour with whole wheat flour to create a heartier, more nutritious version of pita bread.
Common Mistakes to Avoid
- Ensuring Proper Puffing: If your pita doesn’t puff up, it might be due to insufficient oven heat or uneven rolling. Ensure your baking surface is adequately preheated, and roll the dough evenly to about 1/4-inch thickness.
- Avoid Over-Kneading or Under-Proofing: Over-kneading can lead to a tough dough, while under-proofing may prevent the pita from puffing properly. Aim for a smooth, elastic dough and allow it to rise until doubled in size before baking.
By following these tips and experimenting with variations, you can perfect your homemade pita bread and enjoy its delightful taste and texture.
Serving Suggestions & Pairings
Pita bread is more than just a vessel; it’s a versatile companion that elevates a variety of dishes. Whether you’re in the mood for a light snack or a hearty meal, pita bread adapts beautifully. Here’s how you can enjoy it to its fullest:
Best Ways to Enjoy
- With Middle Eastern Dips: The soft, warm texture of pita bread is perfect for scooping up dips such as hummus, baba ganoush, and tzatziki. These timeless pairings create a delicious harmony of flavors and textures.
- As Pita Chips: Cut pita into triangles, brush with olive oil, sprinkle with your favorite seasonings, and bake until crispy. These homemade pita chips are perfect for dipping into spreads or enjoying on their own.
- With Greek Dipping Oil: A mixture of extra virgin olive oil, minced garlic, oregano, and a splash of balsamic vinegar creates a flavorful dipping oil. Serve it alongside warm pita for an appetizer that’s both simple and satisfying.
Turn It into Pita Pockets
Transform pita bread into a convenient and delicious wrap:
- Fillings: Stuff your pita with grilled chicken, falafel, roasted vegetables, or a mix of greens and feta cheese.
- Sauces: Enhance the flavors with a drizzle of tahini, tzatziki, or a spicy harissa yogurt sauce.
- Add-ins: Include pickled cucumbers, tomatoes, or olives for added crunch and zest.
These pita pockets are perfect for a quick lunch or a light dinner.
Meal Ideas Using Pita Bread
Pita bread’s versatility extends to various meal options:
- Mediterranean Sandwiches: Combine grilled meats, fresh vegetables, and a spread like hummus or tzatziki inside pita for a satisfying sandwich.
- Pita Pizza: Use pita as a base for a quick pizza. Spread tomato sauce, add cheese and your favorite toppings, then bake until the cheese is melted and the crust turns crispy.
- Breakfast Pitas: Fill pita with scrambled eggs, spinach, and feta for a hearty breakfast option.
- Salad Wraps: Wrap a fresh salad with grilled chicken or falafel in pita for a portable and healthy meal.
Pita bread’s adaptability makes it a staple in many cuisines, offering endless possibilities for creative and delicious meals.
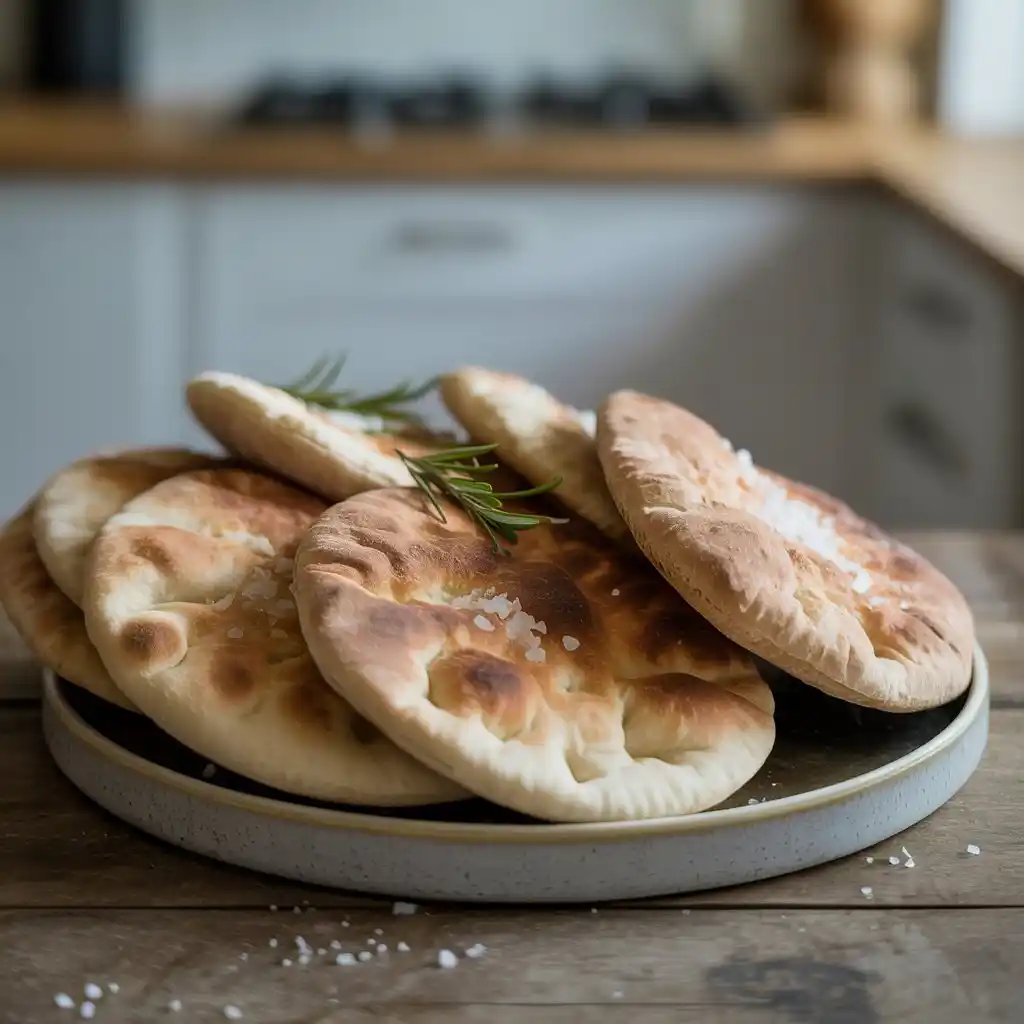
Conclusion
Making homemade pita bread is a rewarding culinary journey. In just 20 minutes, you can create soft, fluffy bread that’s perfect for wraps, dips, and more. Freshly baked pita from your kitchen tastes far better than store-bought options, with superior texture and flavor. The process is simple enough for beginners, making it an inviting project for anyone. By baking your own pita bread, you enjoy not only delicious results but also the satisfaction of crafting a classic staple from scratch. Dive into this baking adventure and treat yourself to warm, homemade pita that brings both joy and flavor to your table.
pita bread
Equipment
- Mixing Bowl For combining and kneading the dough.
- Rolling Pin Essential for flattening the dough evenly.
- Cast IronSkillet or Baking Stone Provides even heat of distribution, crucial for puffing up the pita.
- KitchenScale Ensures precise measurement of ingredients.
- Damp Cloth Keeps thedough moist during resting periods.
Ingredients
- Bread flour
- Warm water
- Active dry yeast
- Olive oil
- Sugar
- Salt
Instructions
Activate yeast:
- by mixing it with warm water and sugar. Let sit for 5-10 minutes until foamy.
Make dough:
- In a bowl, combine flour and salt. Pour in yeast mixture and olive oil. Knead until smooth.
Proof dough:
- Cover and let rest for 1 hour in a warm place.
Shape pita:
- Divide into 8 balls. Roll each into 1/4-inch rounds.
Bake:
- On a preheated baking stone at 500°F (260°C) for 3-4 minutes until puffed.
Cool:
- Transfer to a towel-lined basket to keep warm and soft.
Notes
- Calories: 195 kcal
- Carbohydrates: 36g
- Protein: 6g
- Fat: 3g
- Fiber: 1g
- Sodium: 310mg
- Sugar: 1g
FAQs
Can I make pita bread without yeast?
Absolutely. You can make delicious pita bread without yeast by using alternatives like baking powder or yogurt. These methods eliminate the need for rising time, making the process quicker and more convenient. For instance, a no-yeast flatbread recipe combines flour, baking powder, olive oil, and water to create soft, fluffy bread in just 30 minutes .
What’s the best flour for soft pita bread?
For the softest and most authentic pita, opt for bread flour. Its higher protein content (11.5–13.5%) promotes better gluten development, resulting in a chewier texture and improved puffing. While all-purpose flour can be used, bread flour yields superior results, ensuring your pita puffs up beautifully and maintains a soft interior .
How do I store leftover pita bread?
To keep your pita bread fresh:
Cool completely before storing.
Wrap each pita separately in plastic wrap or aluminum foil.
Place in an airtight container or resealable plastic bag.
Refrigerate for up to 5–7 days.
For longer storage, freezing is ideal. Wrap each pita in plastic wrap, then in aluminum foil, and store in a freezer-safe bag. When ready to use, reheat in a hot oven or skillet for a few minutes to restore softness .
Why didn’t my pita bread puff up?
If your pita didn’t puff up, consider these factors:
Dough Thickness: Ensure the dough is rolled out evenly to about 1/4 inch thick.
Oven Temperature: Preheat your oven to at least 500°F (260°C) to create the necessary steam for puffing.
Baking Surface: Use a preheated baking stone or heavy baking sheet to maintain consistent heat.
Handling: Avoid overworking the dough, as this can prevent proper puffing .
By addressing these elements, you can achieve the perfect pita with a delightful pocket every time.
Feel free to experiment with these tips and enjoy the process of making homemade pita bread.
4 thoughts on “Pita Bread Love”