
Last Updated on May 19, 2025 by Lucas
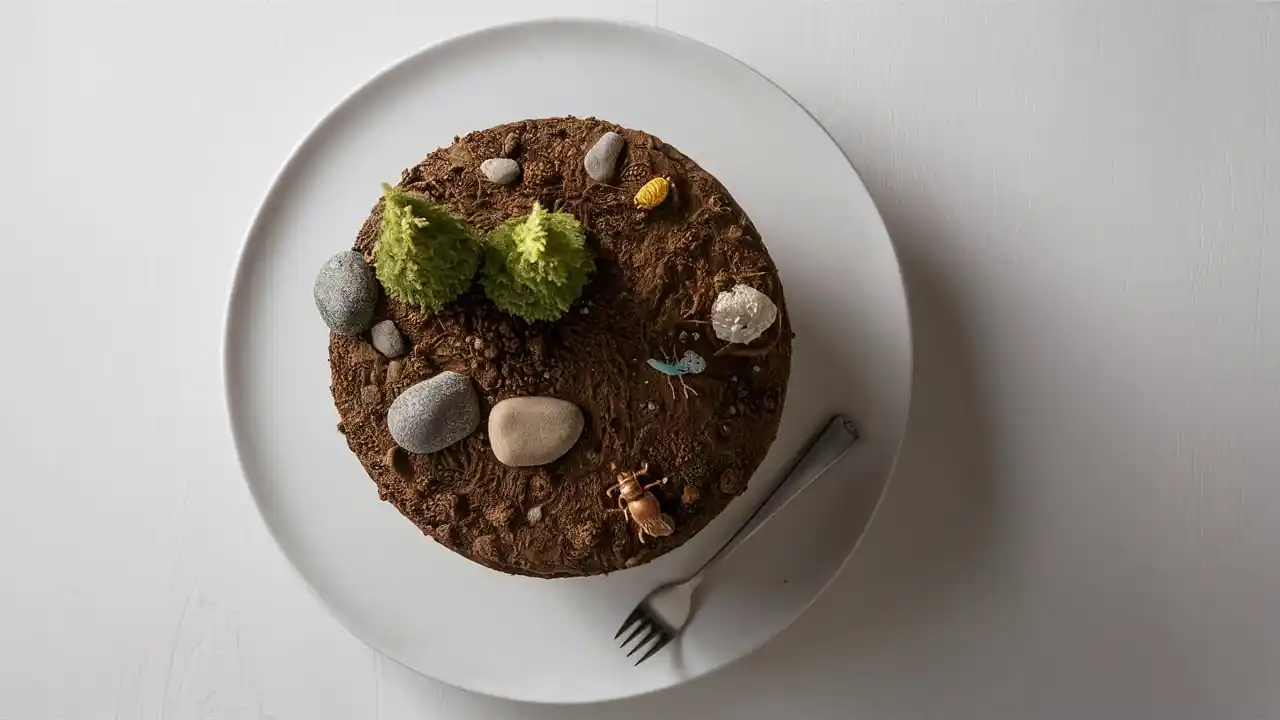
Ever craved a dessert that’s fun, fast, and full of flavor? This Dirt Cake Delight is the ultimate no-bake treat kids love—and you will too. With crushed Oreos, creamy chocolate pudding, it’s a layered dessert that’s as easy to make as it is to enjoy. Whether you’re planning a party or just need a quick chocolate fix, this 15-minute recipe brings joy to every bite. Let’s turn snack time into something unforgettable.
Key Benefits
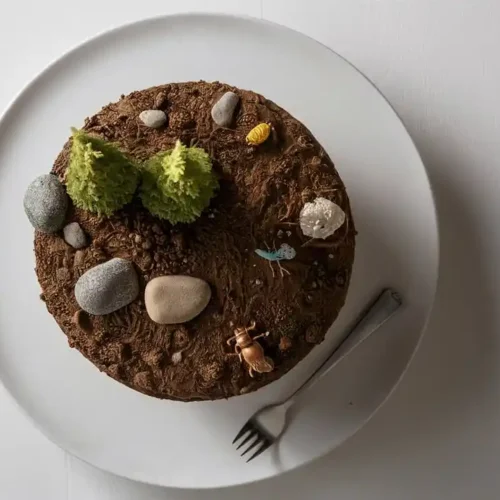
Dirt cake is a nostalgic no-bake dessert that combines crushed Oreo cookies, creamy pudding, and playful gummy worms to create a treat that’s both fun and delicious. This dessert is perfect for various occasions, from children’s parties to casual family gatherings.
Key Features:
- No-Bake Convenience: Requires no oven, making it ideal for warm days or quick preparation.
- Kid-Friendly: The assembly process is simple, allowing children to participate and enjoy creating their own servings.
- Customizable: Easily adaptable with different toppings or presentation styles to suit various themes and preferences.
Serving Suggestions:
- Individual Cups: Serve in clear plastic cups for easy portion control and a visually appealing presentation.
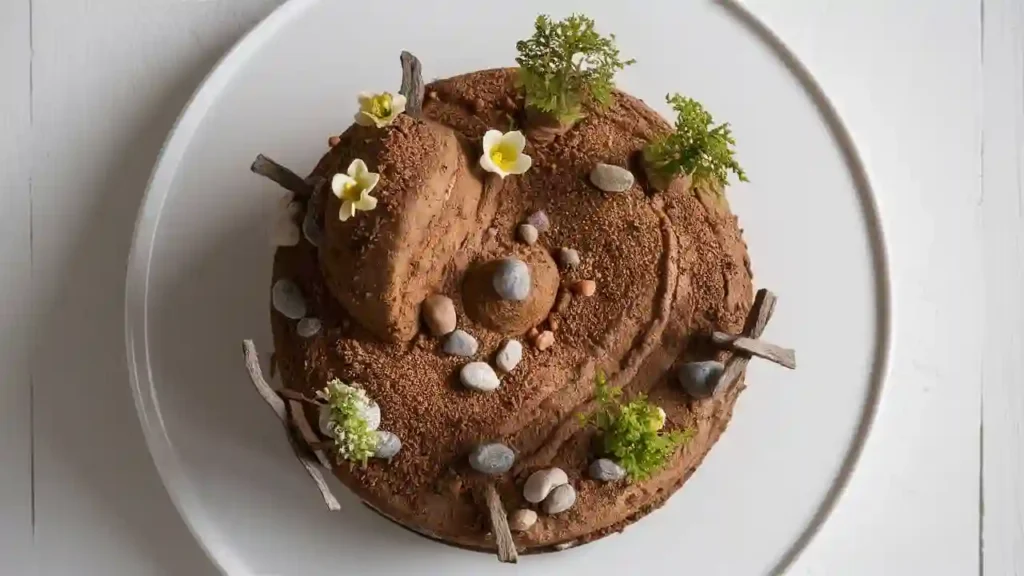
- Themed Decorations: Add edible flowers, or themed candies to match the occasion.
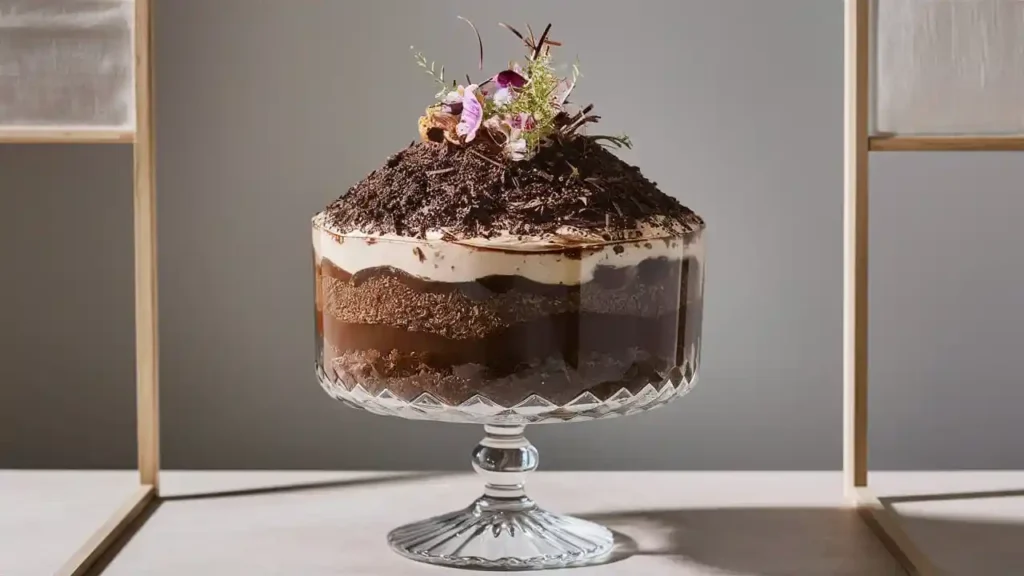
- Layered Trifle: Use a trifle dish to showcase the dessert’s layers, enhancing its visual appeal.
Dirt cake’s simplicity and versatility make it a go-to dessert for those seeking a delightful, no-fuss treat that brings smiles to both children and adults alike.
Ingredients
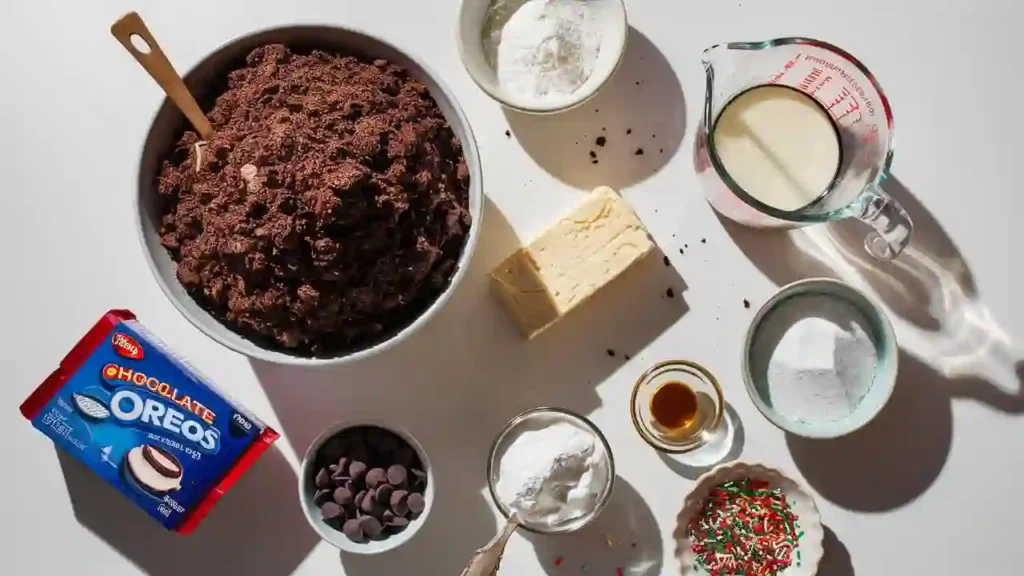
Creating the perfect Dirt Cake is all about balancing rich, creamy layers with crunchy, chocolatey goodness. Here’s a breakdown of the essential ingredients you’ll need:
Base Ingredients
- Crushed Oreos (or chocolate sandwich cookies): These form the “dirt” base and topping, adding a delightful crunch and deep chocolate flavor.
- Cream cheese: Provides a rich, tangy foundation for the creamy layers, enhancing the overall texture.
- Instant chocolate pudding mix: Offers a quick and easy way to achieve a smooth, chocolatey layer without the need for cooking.
Creamy Layer Essentials
- Cool Whip or whipped topping: Brings lightness and sweetness to the creamy layers, making them airy and smooth.
- Powdered sugar: Sweetens the mixture without altering its texture, ensuring a smooth finish.
- Milk: Used to prepare the pudding mix, contributing to the desired consistency of the creamy layers.
- Vanilla extract: Adds a hint of warmth and depth to the flavor profile, balancing the sweetness.
Fun Optional Add-ons
- Chocolate chips: Sprinkled on top or mixed in for added texture and bursts of chocolate flavor.
- Sprinkles or crushed candy bars: Customize the topping to suit any occasion or theme, adding color and extra sweetness.
With these ingredients, you’re all set to create a Dirt Cake that’s both delicious and visually appealing. Whether it’s for a birthday, a family gathering, or just a fun treat, this dessert is sure to impress.
Instructions
Creating dirt cake is simple, but the layering technique gives it that irresistible appeal. It’s about balance—soft creaminess paired with a satisfying cookie crunch. When you build each layer intentionally, the dessert not only looks beautiful but also delivers that classic, nostalgic flavor you’re after.
Let’s break it down into clear steps, so you can make this dirt cake confidently in just 15 minutes.
Step 1: Prepare the Oreo Crust
Start by making the foundation. This layer gives your dirt cake its signature crunch.
- Use a food processor to pulse chocolate sandwich cookies until finely crushed.
- If you don’t have a food processor, simply put the cookies in a zip-top bag and use a rolling pin to crush them into fine crumbs.
- Set aside about ⅓ cup of the crumbs. You’ll use these to finish the top layer.
Tip: For a smoother base, remove the cookie filling before crushing, but leaving it in adds extra flavor and moisture.
Step 2: Mix the Creamy Layers
This is where your dirt cake gets its smooth, mousse-like texture. Each ingredient plays a part in making it rich and light at the same time.
- In a large bowl, mix softened cream cheese and powdered sugar together until the mixture is smooth and creamy.
- Add cold milk and the instant pudding mix. Whisk until it thickens slightly.
- Blend in a splash of vanilla extract for added depth.
- Fold in the whipped topping gently. This keeps the texture airy, not dense.
Tip: Make sure all dairy ingredients are well-chilled. Cold ingredients help the pudding set faster and prevent the mixture from becoming too loose.
Step 3: Layer and Assemble
Now comes the fun part—putting it all together. You can use a deep dish, a trifle bowl, or even clear dessert cups for individual servings.
- Begin with a layer of crushed cookies at the bottom.
- Add a layer of the cream mixture over the cookies.
- Repeat this pattern until all components are used.
- Sprinkle the reserved cookie crumbs over the top layer for a neat finish.

Dirt Cake Assembly Summary
| Layer | Ingredient |
| 1 | Crushed Oreo cookies |
| 2 | Creamy pudding layer |
| 3 | Repeat |
| Final | Reserved cookie crumbs + optional toppings |
Final Note
Once assembled, refrigerate the dirt cake for at least 1 hour before serving. This gives the layers time to firm up and meld together. You can also prep it the night before—it holds well overnight and tastes even better the next day.
Now it’s your turn. Try this 15-minute dirt cake recipe, and feel free to make it your own with playful toppings or creative presentation.
Pro Tips and Fun Variations
Once you’ve mastered the basic dirt cake recipe, you’ll discover how easy it is to customize. Whether you’re prepping ahead for a party or adding a playful twist, small changes can make a big difference. This section offers thoughtful, practical ideas to elevate your dirt cake without complicating the process.
Let’s break it down to help you make the most of this nostalgic dessert.
Make It Ahead
Planning ahead? Dirt cake is one of those desserts that actually improves with time. Letting it sit in the fridge allows the layers to set and flavors to blend. Here’s how to do it right:
- Chill it for at least 1–2 hours before serving. This firms up the creamy layers.
- For best results, cover tightly with plastic wrap to prevent moisture loss.
- If you’re prepping a day ahead, keep any decorations or toppings separate until just before serving.
Pro Tip: A firmer texture makes scooping easier and keeps layers intact.
Try Flavor Twists
The classic chocolate dirt cake is delicious, but don’t hesitate to try new versions. A few easy swaps can lead to surprisingly tasty results.
- Swap the pudding flavor: Try vanilla, banana cream, or cookies and cream pudding instead of chocolate.
- Switch the cookie base: Crushed graham crackers or peanut butter cookies offer a different crunch.
- Mix in extras: Layer in chocolate chips, chopped nuts, or a drizzle of nut butter between the creamy layers.
Suggestion: Test different pudding and cookie pairings to find your perfect combo.
Creative Presentations
The way you serve dirt cake can be just as fun as making it. These presentation tips turn a simple dessert into something memorable.
- Use clear cups or mason jars: This lets the layers show through and makes portioning easier.
- Mini dessert shooters: Serve in small dessert shot glasses for bite-sized elegance at events.
Pro Tip: Clear containers highlight the layers beautifully, adding visual appeal to the dessert table.
Quick Reference – Dirt Cake Variations
| Category | Option |
| Pudding Flavor | Chocolate, vanilla, banana cream |
| Cookie Crust | Oreos, graham crackers, peanut butter cookies |
| Add-ins | Chopped candy, mini chocolate chips, nuts |
| Serving Ideas | Mason jars, plastic cups, dessert shooters |
Final Thought
Now that you’ve got the core technique and creative variations, dirt cake becomes a go-to dessert that suits every crowd and occasion. It’s easy, adaptable, and always a hit. Try your favorite combo and see how a few simple changes can refresh this classic recipe.
Serving Suggestions
When it comes to serving dirt cake, the fun doesn’t stop at making it. Knowing when and how to present this creamy, crunchy treat elevates your dessert game. Whether you’re packing it for lunch, celebrating a birthday, or hosting a casual summer BBQ, dirt cake fits right in. Below, you’ll find helpful tips to make serving as delightful as the recipe itself.
Best Times to Serve
Dirt cake shines in many settings, thanks to its easy portability and crowd-pleasing flavors.
- Lunchbox surprise: It’s a sweet midday pick-me-up for kids and adults alike.
- Kids’ birthdays: The nostalgic charm of dirt cake makes it perfect for party tables.
- Summer BBQs: Serve chilled dirt cake for a refreshing dessert after grilled favorites.
You can prepare it in advance, so it’s ready exactly when your guests are.
Presentation Ideas
Visual appeal matters, especially when sharing desserts. These ideas help your dirt cake stand out.
- Party cups with mini spoons: Individual portions in clear cups are neat and inviting.
- Garnish creatively: Sprinkle edible flowers, crushed cookies, or colorful sprinkles on top.
- Layered look: Use transparent containers to showcase the signature dirt and cream layers.
These small touches add charm and make serving easier.
Pair With These Treats
To balance dirt cake’s richness, pairing it with lighter or complementary options enhances the experience.
- Fresh fruit cups: Bright berries or citrus add a refreshing contrast.
- Beverage pairings: Lemonade or a creamy milkshake complements the dessert’s creamy texture.
- Simple sides: Consider a crisp green salad or a light sorbet if you want a fuller dessert spread.
Thoughtful pairings make your dirt cake the star of any menu.
Quick Serving Summary
| Occasion | Serving Idea | Perfect Pairing |
| Lunchboxes | Individual cups, mini spoons | Fresh fruit cups |
| Kids’ birthdays | Sprinkles, colorful garnishes | Milkshakes |
| Summer BBQs | Clear jars, layered display | Lemonade |
Final Note
By choosing the right occasions and thoughtful presentations, you transform dirt cake from a simple treat to a memorable dessert experience. Try these serving tips next time and watch how it brings smiles and compliments alike. Ready to wow your guests? Give these ideas a try and share your favorites.
Conclusion
Dirt cake is a wonderfully easy and delightful dessert that comes together quickly, making it perfect for any occasion. Its creamy texture combined with crunchy cookie layers creates a treat that both kids and adults love. Whether for a birthday, lunchbox surprise, or casual gathering, this dessert never fails to impress. You’ll appreciate how simple it is to prepare yet how much joy it brings to the table. Give dirt cake a try today—once you taste it, you’ll understand why it’s such a favorite. Don’t forget to share your delicious results and any fun twists you create.
Dirt Cake
Ingredients
- 24 crushed chocolate sandwich cookies Oreos
- 8 oz cream cheese softened
- 1 package instant chocolate pudding mix 3.9 oz
- 2 cups milk
- 1 teaspoon vanilla extract
- 8 oz Cool Whip or whipped topping
- ½ cup powdered sugar
- Optional: gummy worms chocolate chips, sprinkles
Instructions
- Crush cookies finely, reserving some for topping.
- In a large bowl, beat cream cheese and powdered sugar until smooth.
- Add milk, pudding mix, and vanilla; whisk until thickened.
- Fold in whipped topping gently.
- Layer cookie crumbs and cream mixture alternately in a serving dish or cups.
- Top with reserved crumbs and optional gummy worms or sprinkles.
- Refrigerate 1–2 hours for best texture before serving.
Notes
- Calories: 320
- Fat: 18g
- Carbohydrates: 36g
- Protein: 4g
- Sugar: 25g
FAQs
Can I make this dirt cake recipe ahead of time?
Yes. Chilling it for a couple of hours actually enhances the flavors and texture, making it even more delicious.
What can I use instead of Cool Whip?
You can easily substitute homemade whipped cream or a stabilized whipped topping for a fresh, creamy layer.
What’s the shelf life of dirt cake in the refrigerator?
When stored properly in an airtight container, dirt cake stays fresh for up to 3–4 days.[1]
Can I make this gluten-free?
Absolutely. Just swap regular chocolate sandwich cookies for gluten-free ones and double-check your pudding mix to ensure it’s gluten-free.
This looks so fun and nostalgic. Do you think it would work well in individual cups for parties?
Absolutely. Serving it in individual cups is perfect for parties — easy, cute, and mess-free.